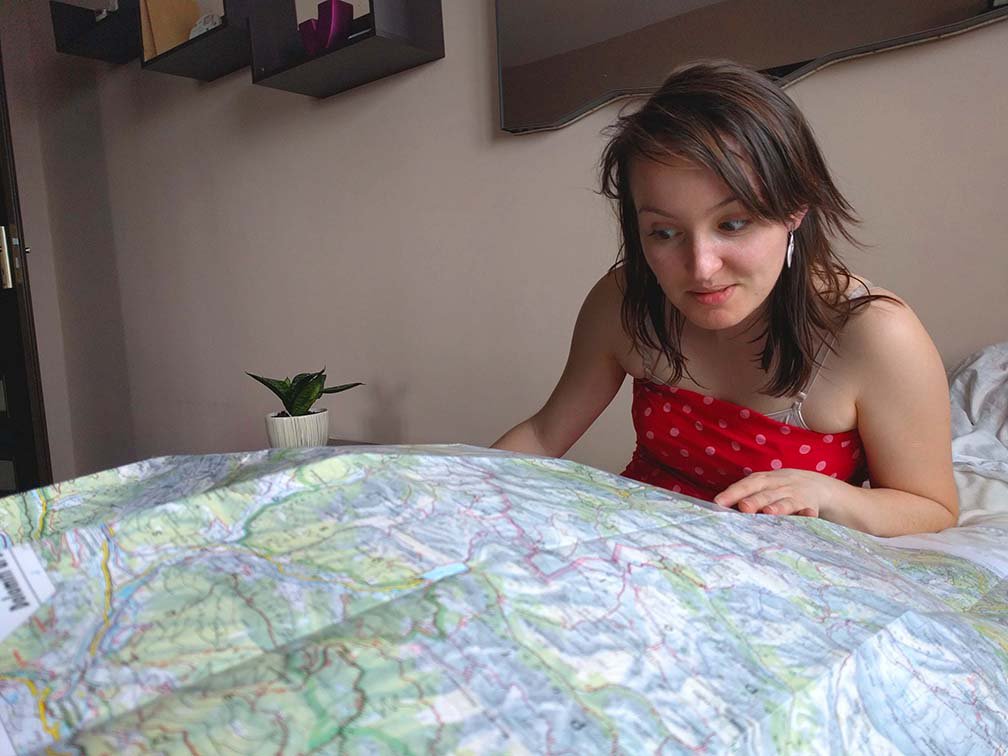
Mountain trip without a map is like visit to the restroom without toilet paper – it’s very risky and it sucks.
We may forget to take a comb and explore the trails with shaggy hair. We may not take adhesive bandage and wait impatiently until the end of the hike, counting each painful step. We may leave our sunscreen at home and then cover our skin with clothes and sweat like a turkey on Christmas eve.
We may forget to take many things for our mountain hike, but there’s an absolute must-have which we simply have to pack – the map.
Yes, we have 21 st century and paper map may seem a bit old-world – there’s about a million online maps and guides providing detailed information about the trails, distances, times of hike, etc.
But I like to be conservative in this matter.
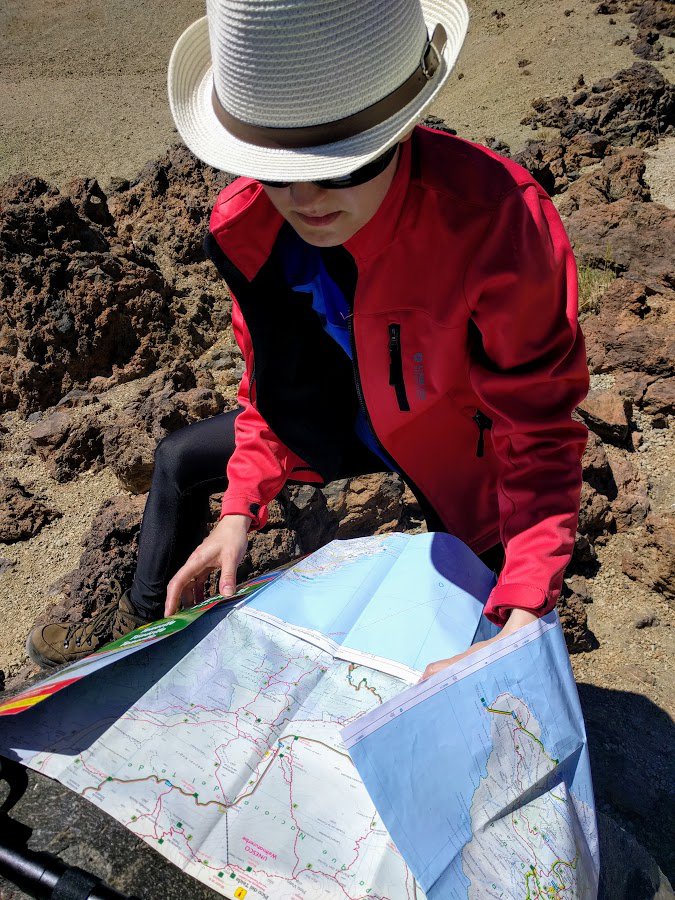
According to Murphy’s law, smartphone’s battery tends to die faster than we expect, especially when we have some fancy track-your-activity app turned on.
Of course, we can take power bank, but it adds up weight to our backpack. And it's just another item to remember about. Also, mobile network coverage in the mountains tend to be very poor or, more often, it’s non-existent. Besides, smartphones are very delicate and when dropped, they no longer want to cooperate so eagerly. Last but not least, smartphone’s screen is simply small and allows you to see only a limited section of the map.
I definitely prefer to have traditional map in my backpack. It’s a very reliable backup, solid like Swiss bank 😉
Truth, in recent years it seemed that conventional maps were endangered – electronic maps and GPS systems have been developing swiftly and lots of tourists have ditched paper maps.
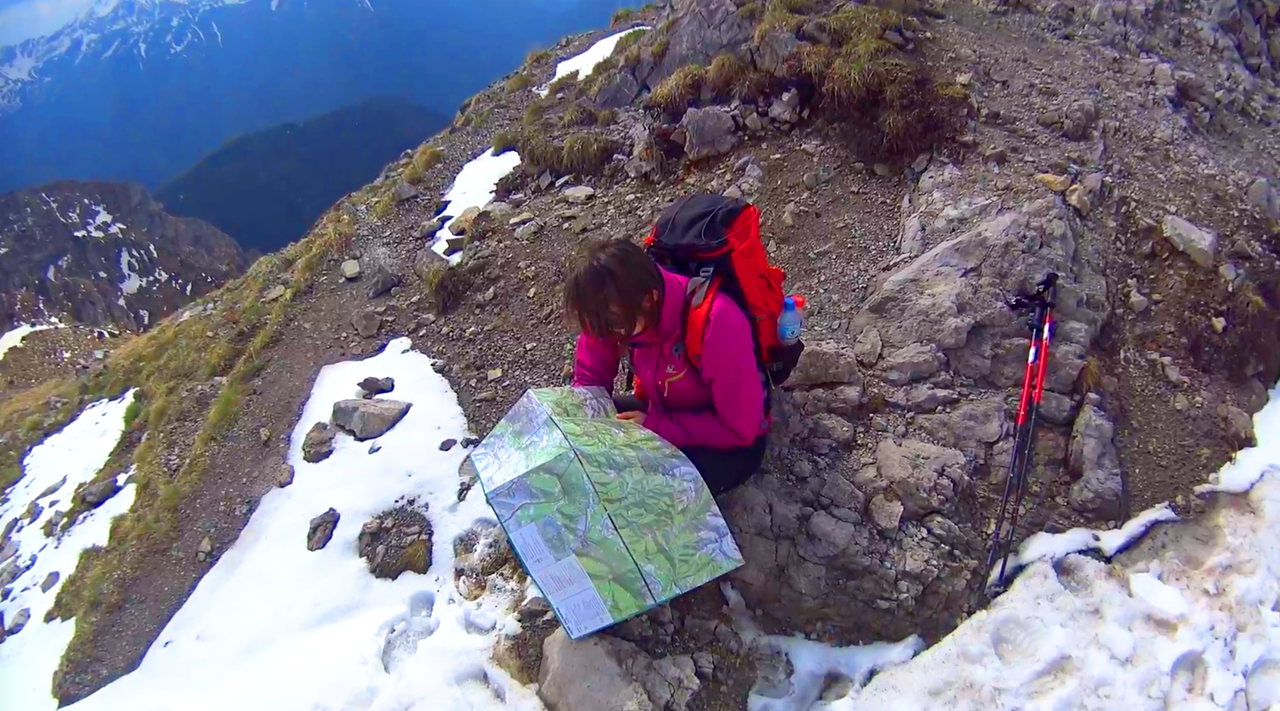
However, years are passing and traditional maps (like books and magazines) are still available on bookshelves and will remain the basic orientation tool for many travelers.
OK, so which map to choose when there’s so many of them on the market? Well, there are a few things which make a map stand out from the crowd. Let’s have a look:
1. Scale
The first thing which I check when I see a map. The smaller, the better – the map will be more detailed.
Currently, the most common scale is 1:50 000 (this means that 1 centimetre on the map is equal to 500 metres on the ground). I prefer maps with 1:30 000, or even 1:20 000 scale.
2. Shading
Good shading on a map is crucial. Map has to present the terrain clearly – you look at it and can instantly tell the difference between forest, clearing, stones and built-up area.
Bad shading will simply make the map unreadable. Also, pay attention to the color intensity – if the coloring is too vivid, the map will be a pain to look at.
3. Trails presentation
Once we checked the scale and shading of the map, it’s worth to have closer look at the trails – how are they marked on the map? The coloring is important here, because if colors on a map are very intense and saturated, the trails will disappear – they will make one big colorful splash on the map.
Ideally, the colors which mark different terrains are toned-down, kind of faded-out – then the trails are well visible on the map.
Detailed maps offer not only hiking trails but also cycle routes, ski touring tracks, horse trails and educational paths. It's very useful feature for me – it provides better terrain orientation and gives me more options to explore the mountains. Besides, if you get yourself cross-country skis, you don’t need to buy new map.
4. Time of hike
At the moment it’s standard feature, although I have some older maps which don’t include times needed to get from point A to point B.
Yeah, I know - sometimes the given information isn't very accurate because it's just average time, may be exaggerated or too short. I admit I often need to add some extra time - contemplating, photo sessions and weather conditions all have an impact on my speed of hiking.
But still, I find such information useful, as it gives me an idea about the trail and helps with planning the trip. If you see map without hike times, keep safe distance from it, don't even touch it!
5. Material
When it comes to the material map is made from, we have 4 types:
- Paper – such map is cheap and light to carry but isn’t very durable. After a few uses it's torn on the bends; also rain and wind can ruin it in a few moments. If we buy a paper map, we can laminate it ourselves at home – all we need is wide transparent tape. This simple impregnation works perfect! I used it myself quite a few times because some publishers offer great maps but don’t laminate them.
- Foil – thanks to the foil layer that map is much more long-lasting than its paper counterpart. It can be folded many times and endures rain well - we get all this for a very low price. This type of map is my favorite because it's durable, lightweight and great value for money.
- Synthetic – I haven’t used such map so far, but I know it's already on sale. It's a map printed on ultra resilient synthetic material. Such invention can be used to slide on snow in the winter and as a rain protection in the summer. 😉
- Laminate – that map is esthetic, enduring, and copes well with all kinds of weather. It can last for years. Disadvantages? Price is high – it can be even three times more expensive than its paper counterpart. Also, laminated map is rather heavy and thick. It can be folded up easily but it’s not easy to fold it so that it presents only a part of the area which we need.
6. Edition
This is obvious – the newer the publication, the better. This year’s release will be the most actual (and potential errors from previous years will be corrected). There’s always a chance for new trails leading to amazing viewpoints – would be a pity to miss them, wouldn’t it?
7. Publisher
When I started hiking in the mountains, I used to buy whichever map was the cheapest or available on bookshop’s shelf (true genius of trip planning). Now I’m a bit wiser and have a couple of favorite publishing houses. If you plan to visit one of many beautiful Polish mountain ranges, consider buying a map from one of these:
- ExpressMap Polska – I got the majority of my maps from this publisher. I have a great liking for their comfort! map series. It’s actually one of the most popular publishing houses in Poland - they offer wide range of maps which cover practically all Poland.
Their maps are also available in electronic version. Those maps are accurate and colors are toned. Also, differences in trails elevation and trails' times are included.
Any drawback? They're laminated and on the points where the map folds, there's a strip of blank space which sometimes is a bit annoying.
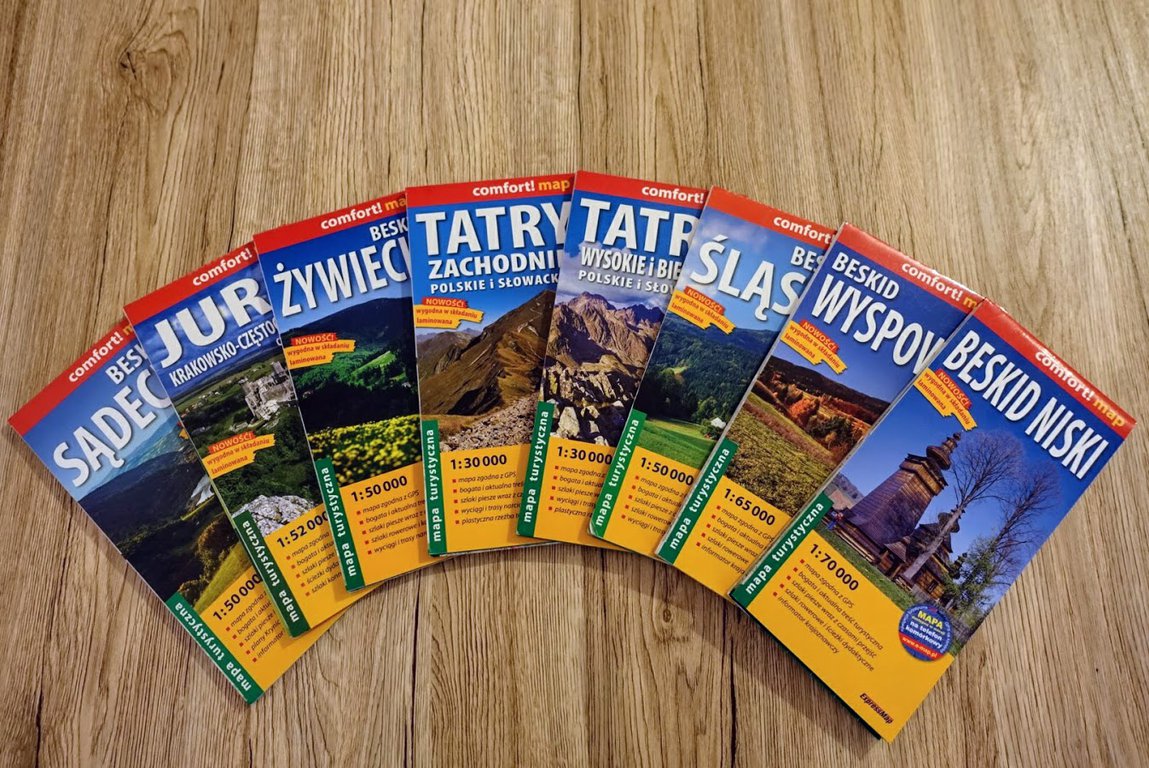
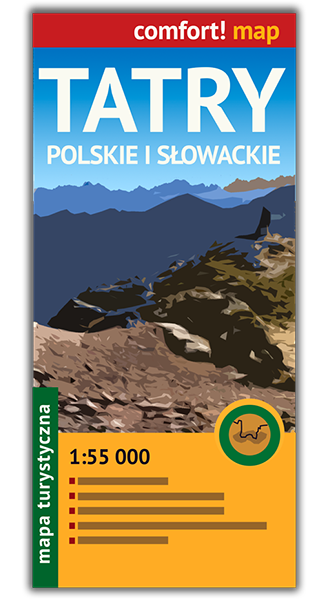
And because it's so hard to find these for forginer tourists we offer the sail of the Tatra map on our blog:
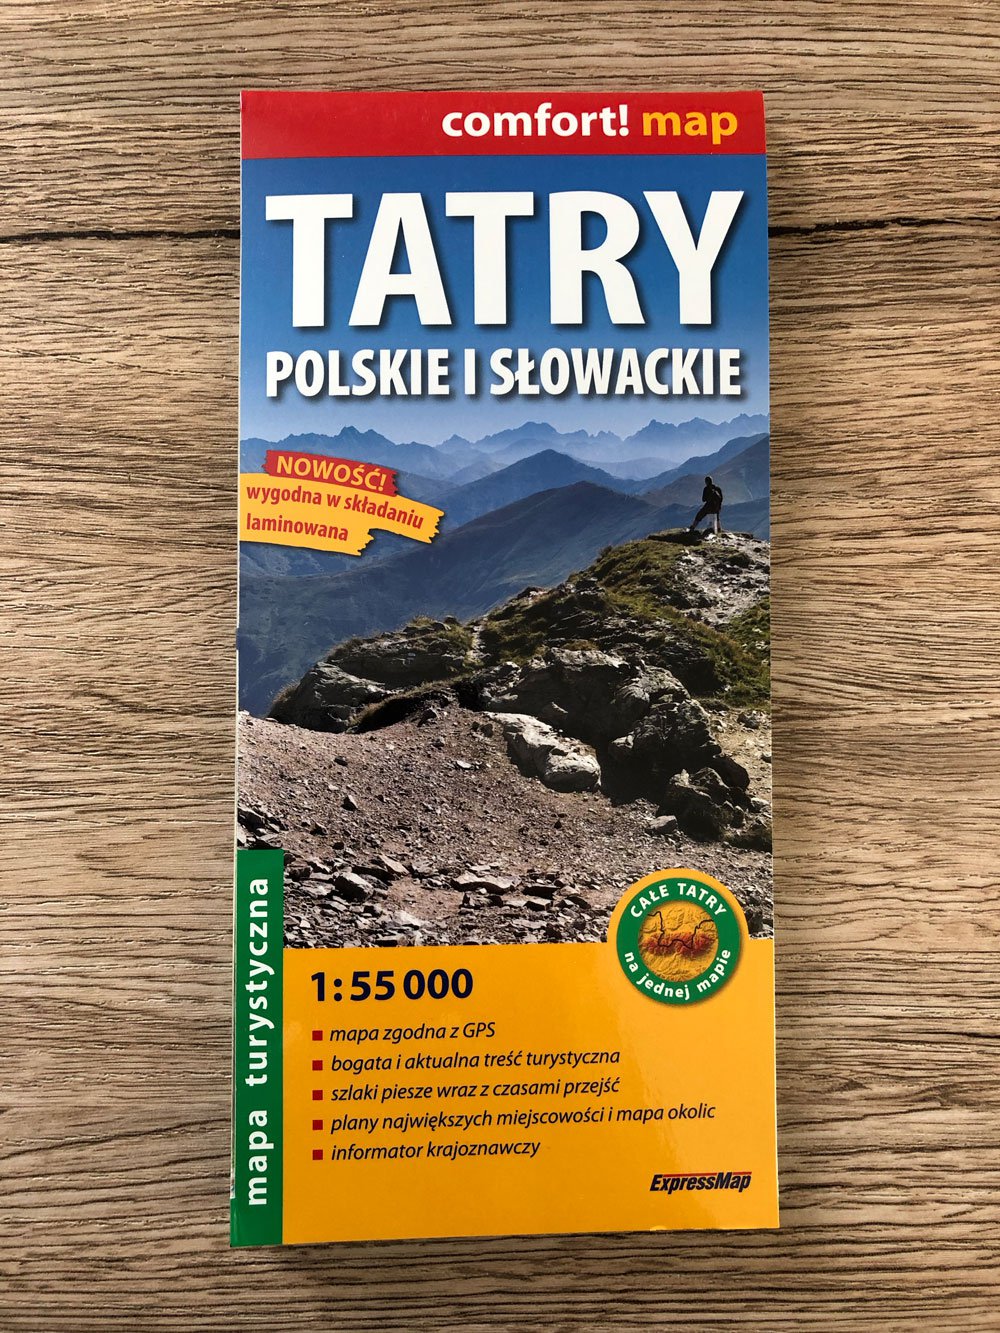
Here you can buy the hiking map of Poland & Slovak Tatra.
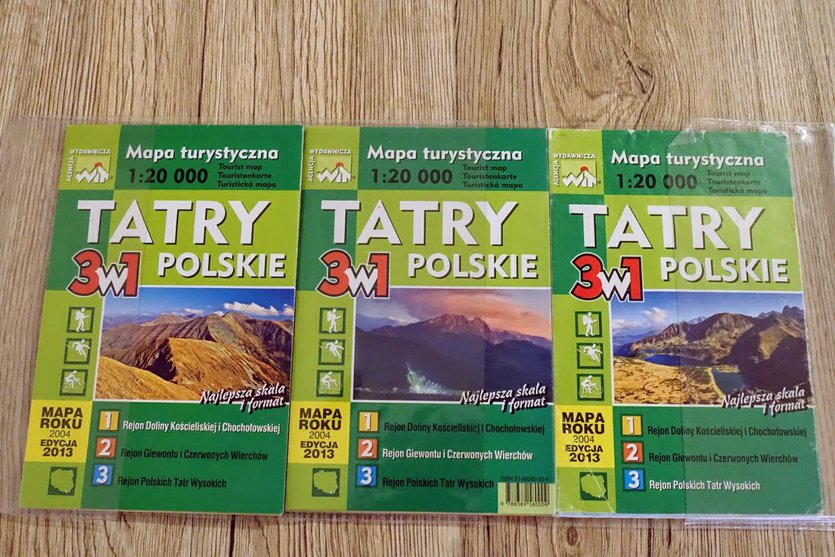
- WiT – I love their 3 in 1 Tatra mountains map! This map is divided into 3 parts: Koscieliska and Chocholowska valley, Giewont and Czerwone Wierchy, and Polish High Tatra region. Those maps are very detailed and easily readable. When unfolded, they are surprisingly small which comes in handy during the hike. Trails are very well mapped, there’s info about closures and additional elements (chains, etc). Those maps are paper, but are available in foil map case. And are ridiculously cheap.
In general, Wit’s maps are precise and very detailed – they are created in cooperation with mountain guides and rescuers. Additional advantage if those maps is description of the surrounding area, panoramas from the peaks and the biggest nearby attractions. There’s also included contact details for mountain rescue and regional tourist organizations.
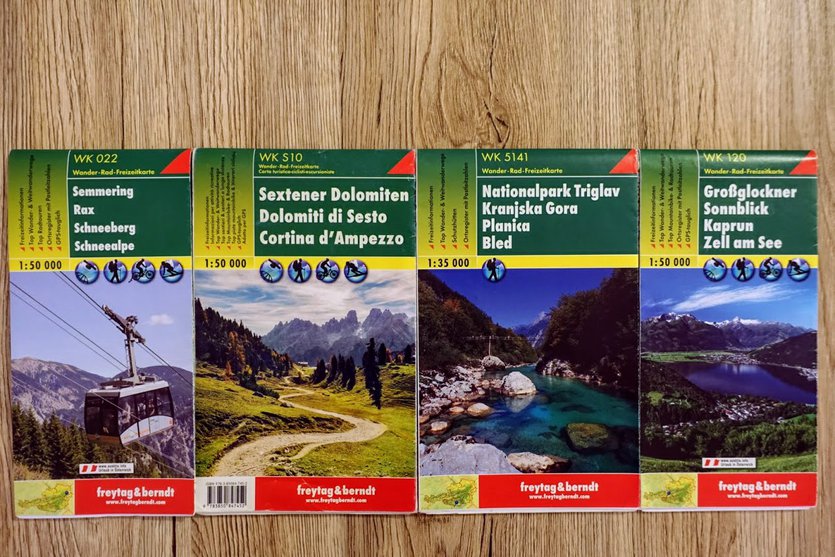
When it comes to European maps, my most frequent choice is Freytag & Berndt. Their maps are detailed and accurate and the colors are OK, but bigger scale maps are rather difficult to read.
I strongly advise scale 1:35 000 and lower. Also, I wish their maps were available in foil or laminate version.
Actually, the most important conclusion from my scribble is: whenever you go to the mountains, take a map. A few years old garish 1:50 000 paper map without cycle trails is better than none. Much better.

